Install Coolify on Your VPS (Without Losing Your Weekend)
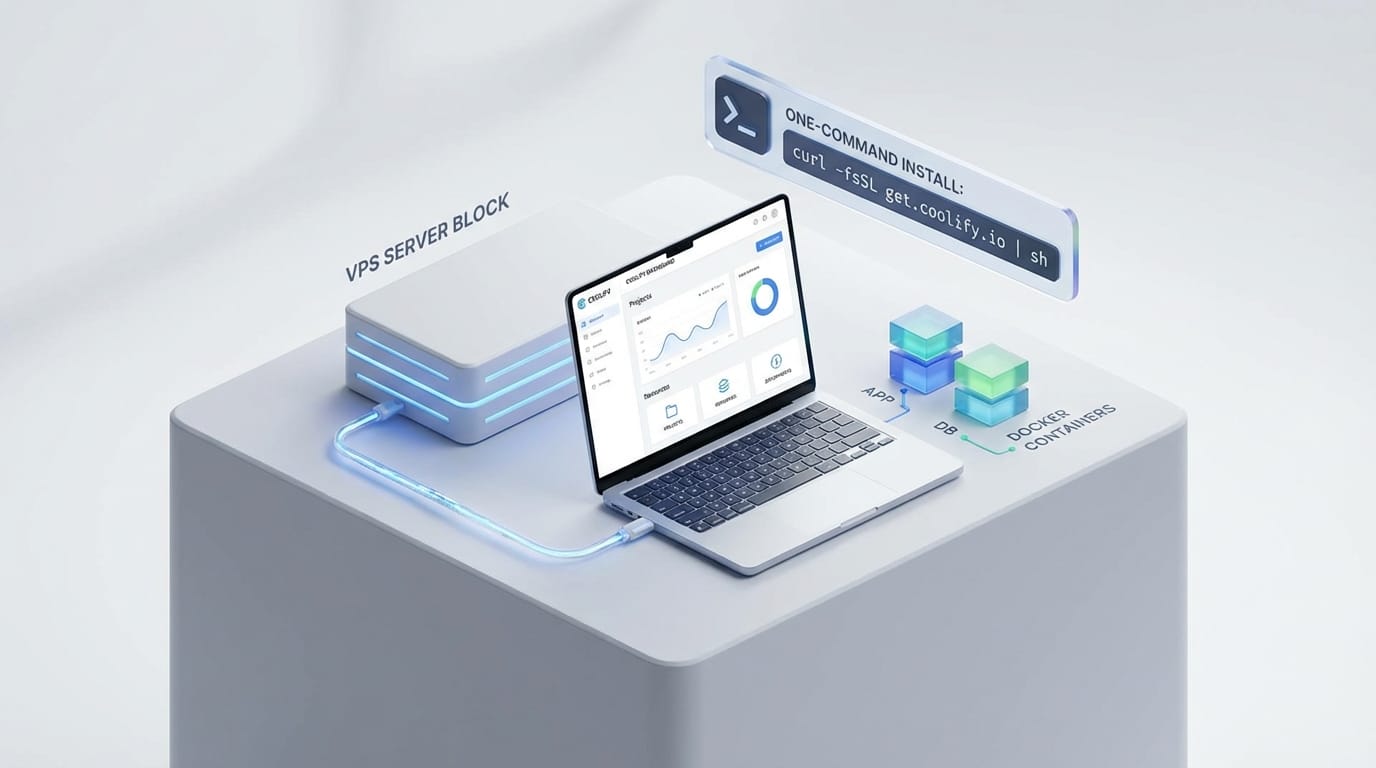
Coolify turns your VPS into a simple self-hosted app platform. Here’s the no-drama install guide, plus the security steps most people skip (and regret).
Imagine this: you’ve got a perfectly good VPS sitting there, humming along… and you’re still deploying apps like it’s 2016. SSH in, copy-paste some Docker commands, forget a flag, redeploy, repeat. Sound familiar?
Coolify is basically “self-hosted Vercel/Netlify vibes,” but you run it on your server. And the best part? Installing it isn’t a weekend project. It’s more like a coffee break with a little healthy paranoia sprinkled in.
What we’re solving (and why Coolify is worth it)
The pain point is simple: you want the convenience of modern app platforms (Git deploys, SSL, environment variables, dashboards) without handing your whole stack to a hosted provider—or duct-taping a bunch of scripts together.
My take? If you’re already paying for a VPS, Coolify is one of the highest ROI things you can put on it. It gives you a clean UI over Docker, and it’s friendly enough that you won’t dread deploying a side project.
Step 0: Make sure your VPS isn’t a potato
Before you install anything, confirm your box meets the basics. Coolify’s docs and guides generally point to these minimums:
- 2 CPU cores
- 4 GB RAM recommended (2 GB minimum if you’re brave)
- 40 GB SSD storage
- Ubuntu 22.04 LTS+
If you try this on a 1-core / 1GB “bargain” VPS, you’re not saving money—you’re buying stress. (Ask me how I know.)
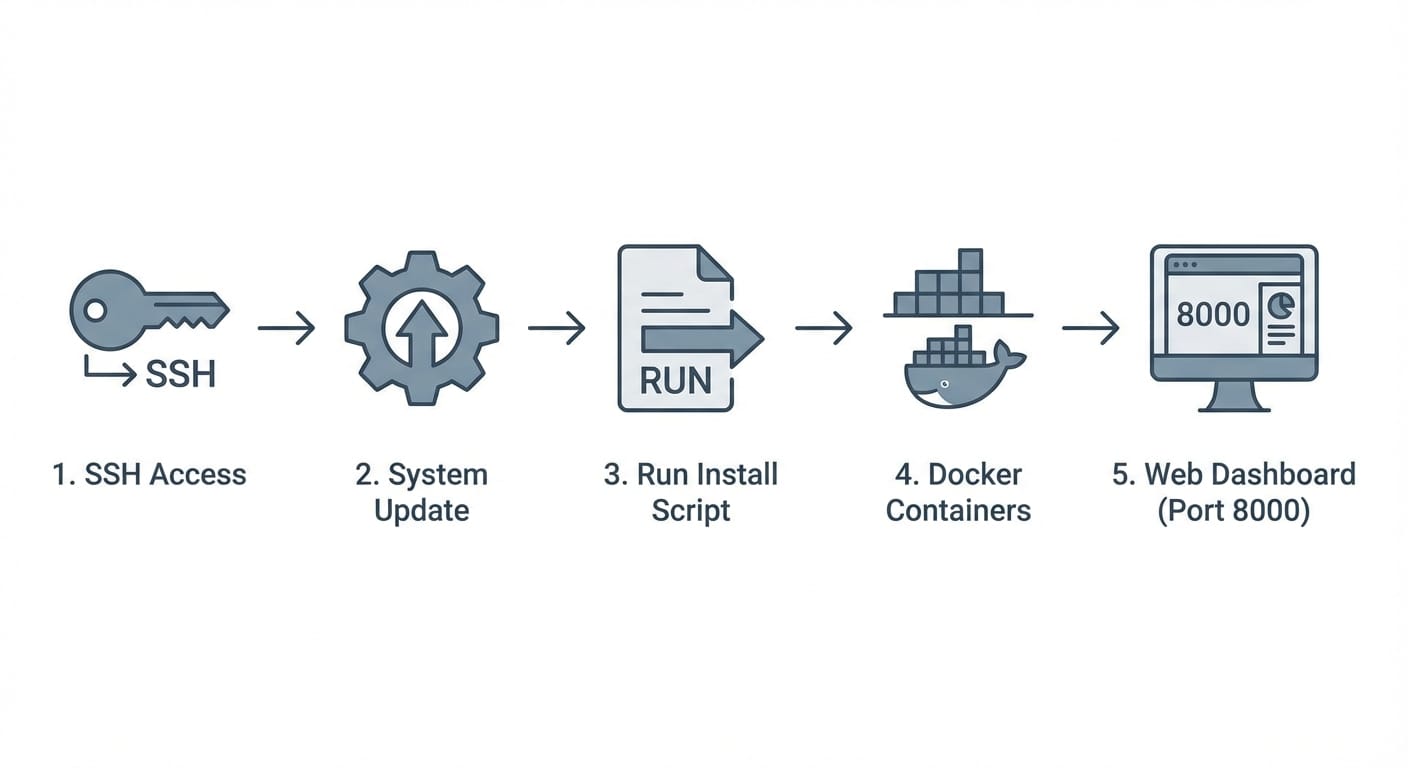
Step 1: SSH into the server
From your local machine:
ssh root@your_server_ip If you’re using a non-root user, that’s fine too—just make sure you can run sudo.
Step 2: Update the system (don’t skip this)
This is the “eat your vegetables” step. Boring, but it prevents weird dependency issues.
apt update && apt upgrade -y Step 3: Install a few helpful packages Could you install Coolify without some of these? Maybe. But having them is like keeping a spare tire in your trunk—you don’t appreciate it until you really, really do.
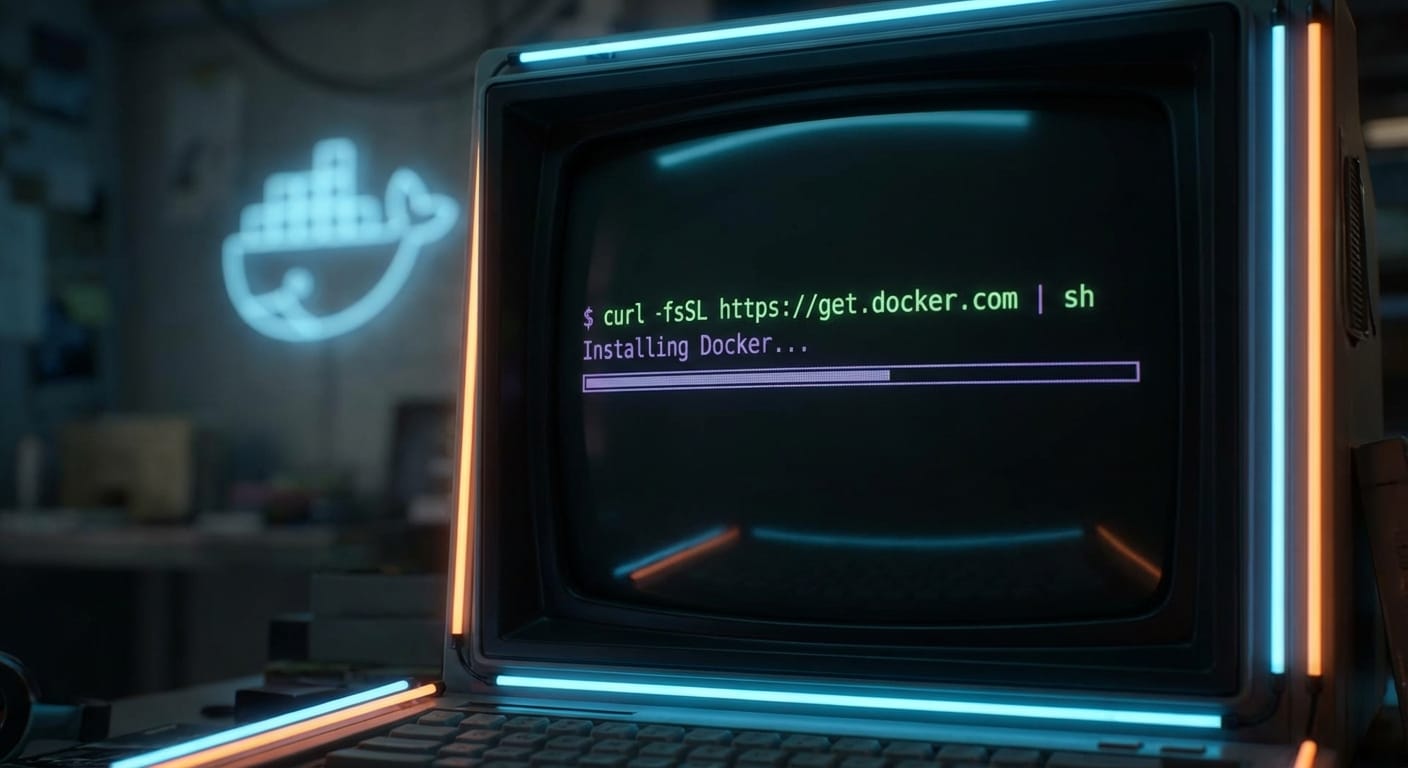
apt install curl wget git jq openssl vim tmux -y Step 4: Docker check (Coolify needs it) Coolify runs on Docker and Docker Compose. Quick check:
docker --version No Docker? Don’t panic. The Coolify install script can set it up for you automatically, so you don’t have to go on a Docker scavenger hunt. That’s one of the reasons I like this install flow.
Step 5: Install Coolify (the “one command” moment)
Alright, here’s the magic. Run the official install script:
curl -fsSL https://cdn.coollabs.io/coolify/install.sh | sudo bash In my experience this typically takes around 5–10 minutes depending on your VPS speed and network. It installs what it needs, pulls containers, and gets the services running. (Translation: you don’t babysit it much.)
Step 6: Verify everything’s actually running
Trust, but verify. Two quick checks:
docker ps sudo systemctl status coolify If you see containers running and the service looks healthy, you’re in business.
Step 7: Open the dashboard
Now go to your browser:
http://your_server_ip:8000 Some setups/providers may map it differently (you might see port 3000 mentioned sometimes), but 8000 is a common default in install guides. If it doesn’t load, it’s almost always firewall or security group rules.
On first visit, you’ll hit a registration flow. Create your admin account immediately—the first user is typically the admin, and you don’t want that to be “some random bot that found your open port.”
Security: the part nobody wants to do (but you should)
Let’s be real: the fastest way to ruin a fun self-hosting win is leaving the door wide open. Here’s the practical baseline.
Firewall: open only what you need
Using UFW on Ubuntu, allow the typical ports:
sudo ufw allow 22 sudo ufw allow 80 sudo ufw allow 443 sudo ufw allow 8000 sudo ufw allow 6001 sudo ufw allow 53 sudo ufw enable If you’re thinking “do I really need all of these?”—it depends on your setup, but these are commonly referenced for Coolify + web traffic + SSH. When in doubt, start with the minimum you need for access and expand intentionally.
SSH hardening: stop using passwords
Password SSH is basically inviting the internet to play “guess the password” forever. Switch to SSH keys and disable password auth.
Edit:
sudo vim /etc/ssh/sshd_config Set:
PubkeyAuthentication yes PasswordAuthentication no PermitRootLogin yes Then restart SSH:
sudo systemctl restart sshd Important: test a new SSH session before you log out, so you don’t lock yourself out like a sitcom character.
Common mistakes (aka: ways to make this harder than it needs to be)
- Forgetting the firewall/security group: if :8000 won’t load, it’s usually network rules—not Coolify.
- Underpowered VPS: 2GB RAM can work, but 4GB is the “don’t hate your life” tier.
- Skipping updates: outdated packages can cause install weirdness that looks “mystical” until you remember you didn’t upgrade.
- Not setting a domain/SSL: you’ll eventually want HTTPS. Might as well do it early.
Pro Tips (the stuff I’d do on day one)
- Point a domain at your VPS right away. IP-based dashboards get old fast.
- Turn on Let’s Encrypt in Coolify so everything is HTTPS. No excuses.
- Backups aren’t optional—at least snapshot the VPS and back up app data regularly.
- Keep a tmux session open during install. VPS connections love to drop at the worst times.
Quick mini-checklist
- [ ] VPS meets minimum specs (2 cores, 4GB RAM recommended, 40GB SSD, Ubuntu 22.04+)
- [ ] SSH access works
- [ ] System updated
- [ ] Ran Coolify install script
- [ ] Verified docker ps and systemctl status coolify
- [ ] Opened dashboard on http://IP:8000
- [ ] Created admin account
- [ ] Firewall + SSH hardened
Sources (so you know I’m not making this up)
- Coolify install script + setup guidance: Coolify and official CDN installer referenced in community docs (install.sh).
- Minimum VPS requirements and Ubuntu/Docker dependency guidance compiled from Coolify/community installation guides and referenced requirements in the provided research data. (See also: Docker Engine on Ubuntu for Docker baseline.)
Action challenge
Do this today: spin up a fresh Ubuntu 22.04 VPS, run the installer, and get to the Coolify dashboard. If you want the “extra credit,” lock down SSH keys and enable UFW before you deploy your first app. Your future self will high-five you.